Last Christmas I decided to delve into the world of jelly making. I didn't have a clue but wanted to learn since I love jelly and biscuits. I wanted something different than the boring selection at the grocery store but didn't want to pay the prices being charged for the specialty jellies so I decided, why not make my own!
What pushed me to finally try it was my niece. For Christmas, we pick names in our family and the gift we give must be homemade. I picked my niece and on her wish list was jellies.
Blackberries happened to be on sale and I bought a bunch. I ended up with about 12 jars of blackberry jelly. It was good but I wanted something a little more special so I searched the web looking for ideas. I came across this site that mentioned Raspberry Jalapeno Jelly. That was it! I wanted to immediately try it. I made a batch and loved the taste. I vowed that next time, I would add a little more jalapeno since the kick needed to be a little stronger.
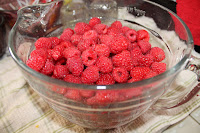
I have been waiting all this time for raspberries to go on sale but they haven't....until now. I finally got my chance to make my jelly. I went out this morning and bought 6 baskets of raspberries. We have jalapenos growing in our yard and I used those.
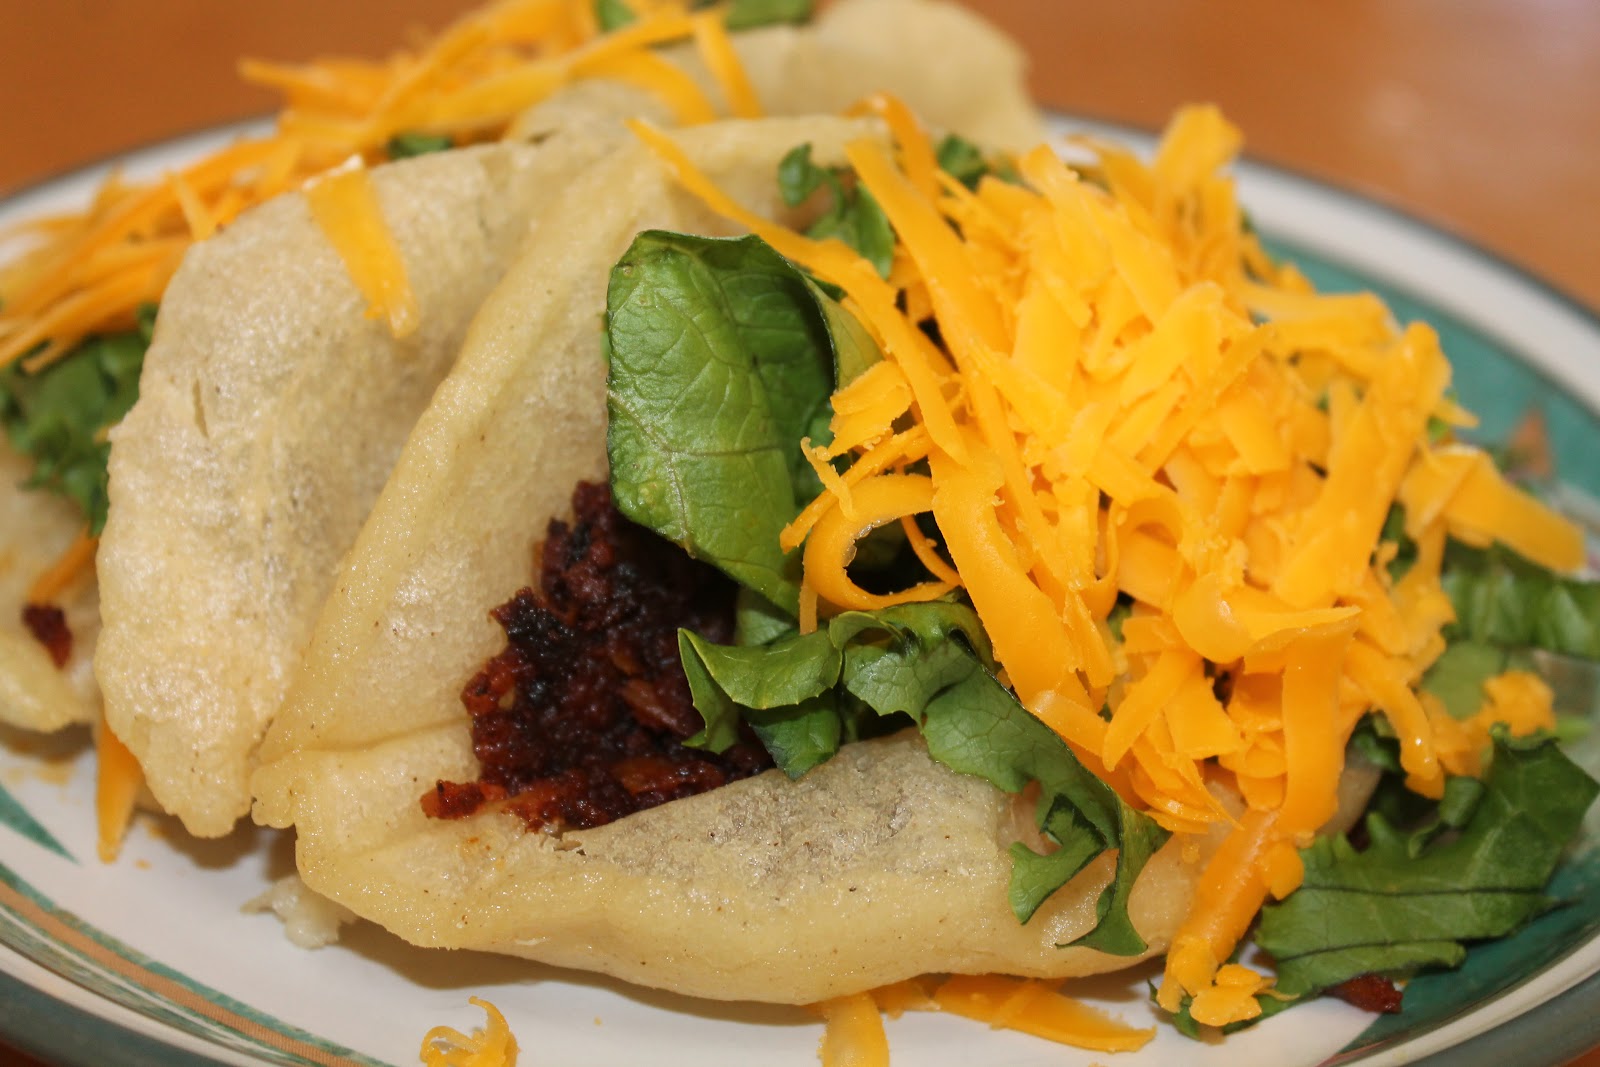
I can't wait until I crack open a jar and slather it over my homemade biscuits. I also like to pour it over a block of cream cheese and serve with crackers for snacking.
.

Important to clean and sterilize jars, rings and lids. I wash and dry the jars in hot soapy water, then sterilize them in boiling water.
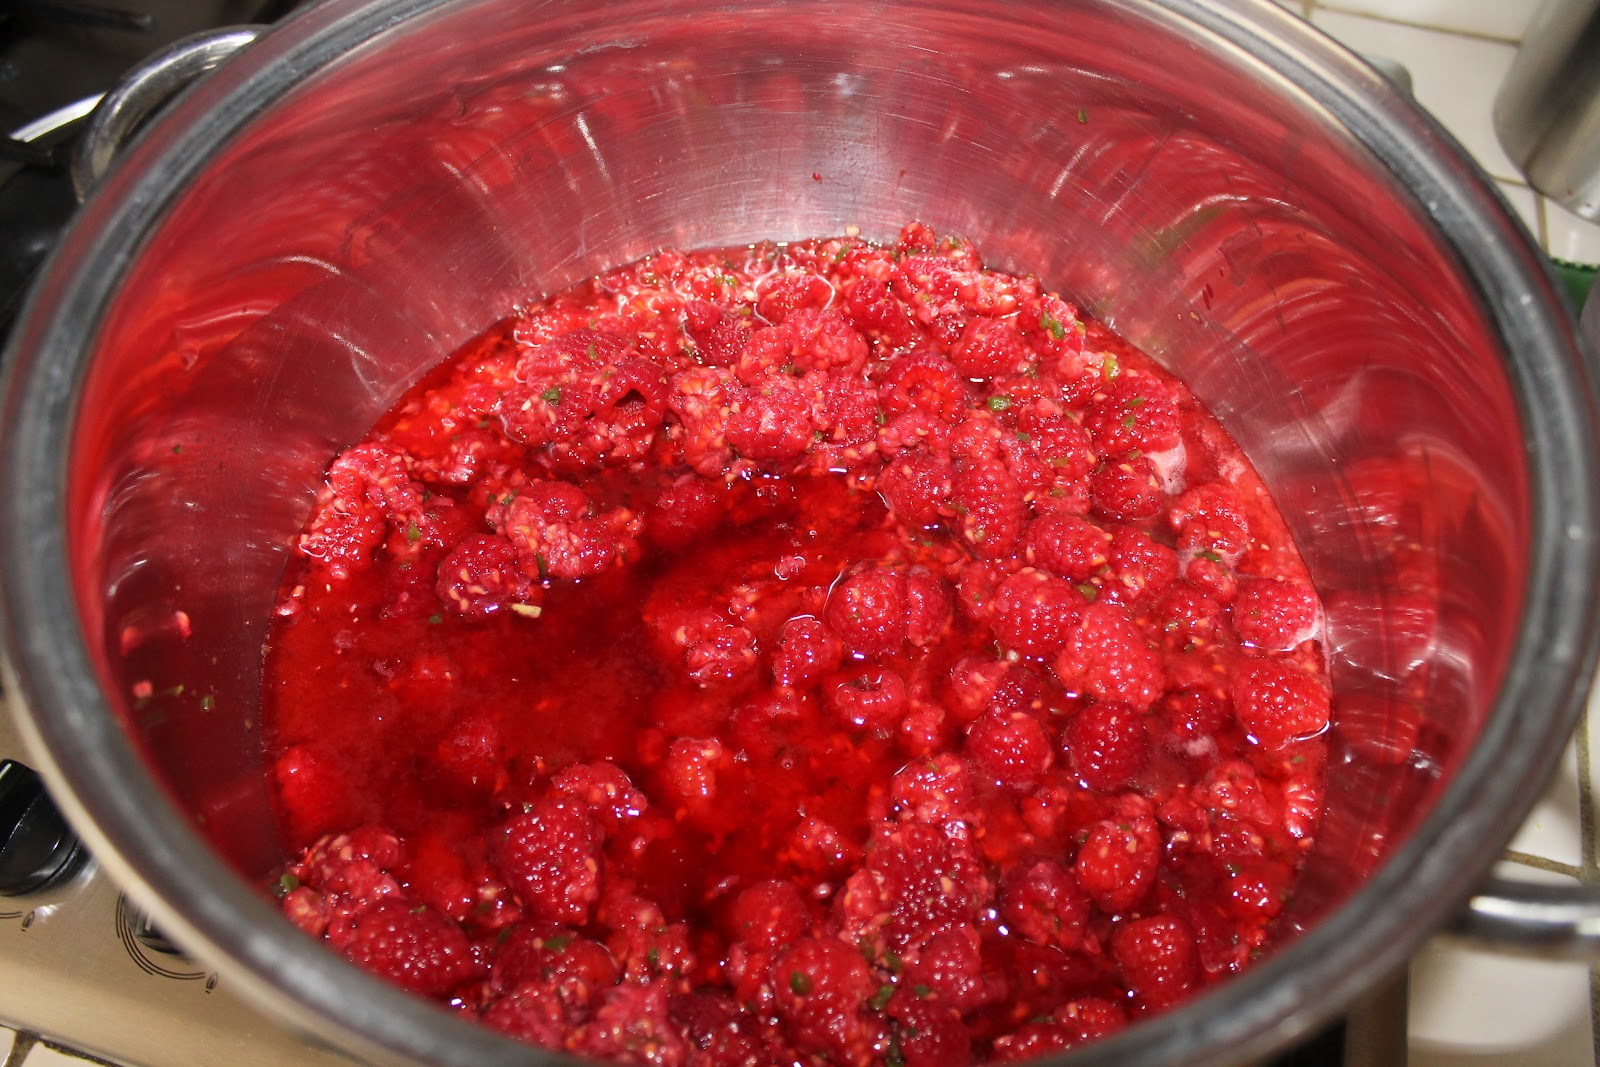
Wash 5 cups of raspberries. I used about 10 small jalapenos (our plant produces small chile's), or if they are large jalapenos, try starting with 5. I placed them in a food chopper until they were tiny, tiny pieces and added the vein and seeds of 3 of them. I also used about 4 cups of sugar and 1 pouch of the pectin powder.
While the jars and lids are sterilizing, I poured 1 cup apple cider vinegar into a large stockpot and let it heat up then added the raspberries, stirring until they started to break apart. I then added the jalapenos
making sure to add a little at a time so as not to overpower the raspberries. I stirred it all together and then added the pectin. Once it's all stirred together, I tested a small amount on a spoon to check the heat from the jalapeno. This is where I add more jalapenos if I want it hotter. If you add too much in the beginning, you're stuck with spicy jelly. The last thing is the sugar. Add and stir until dissolved and well mixed.
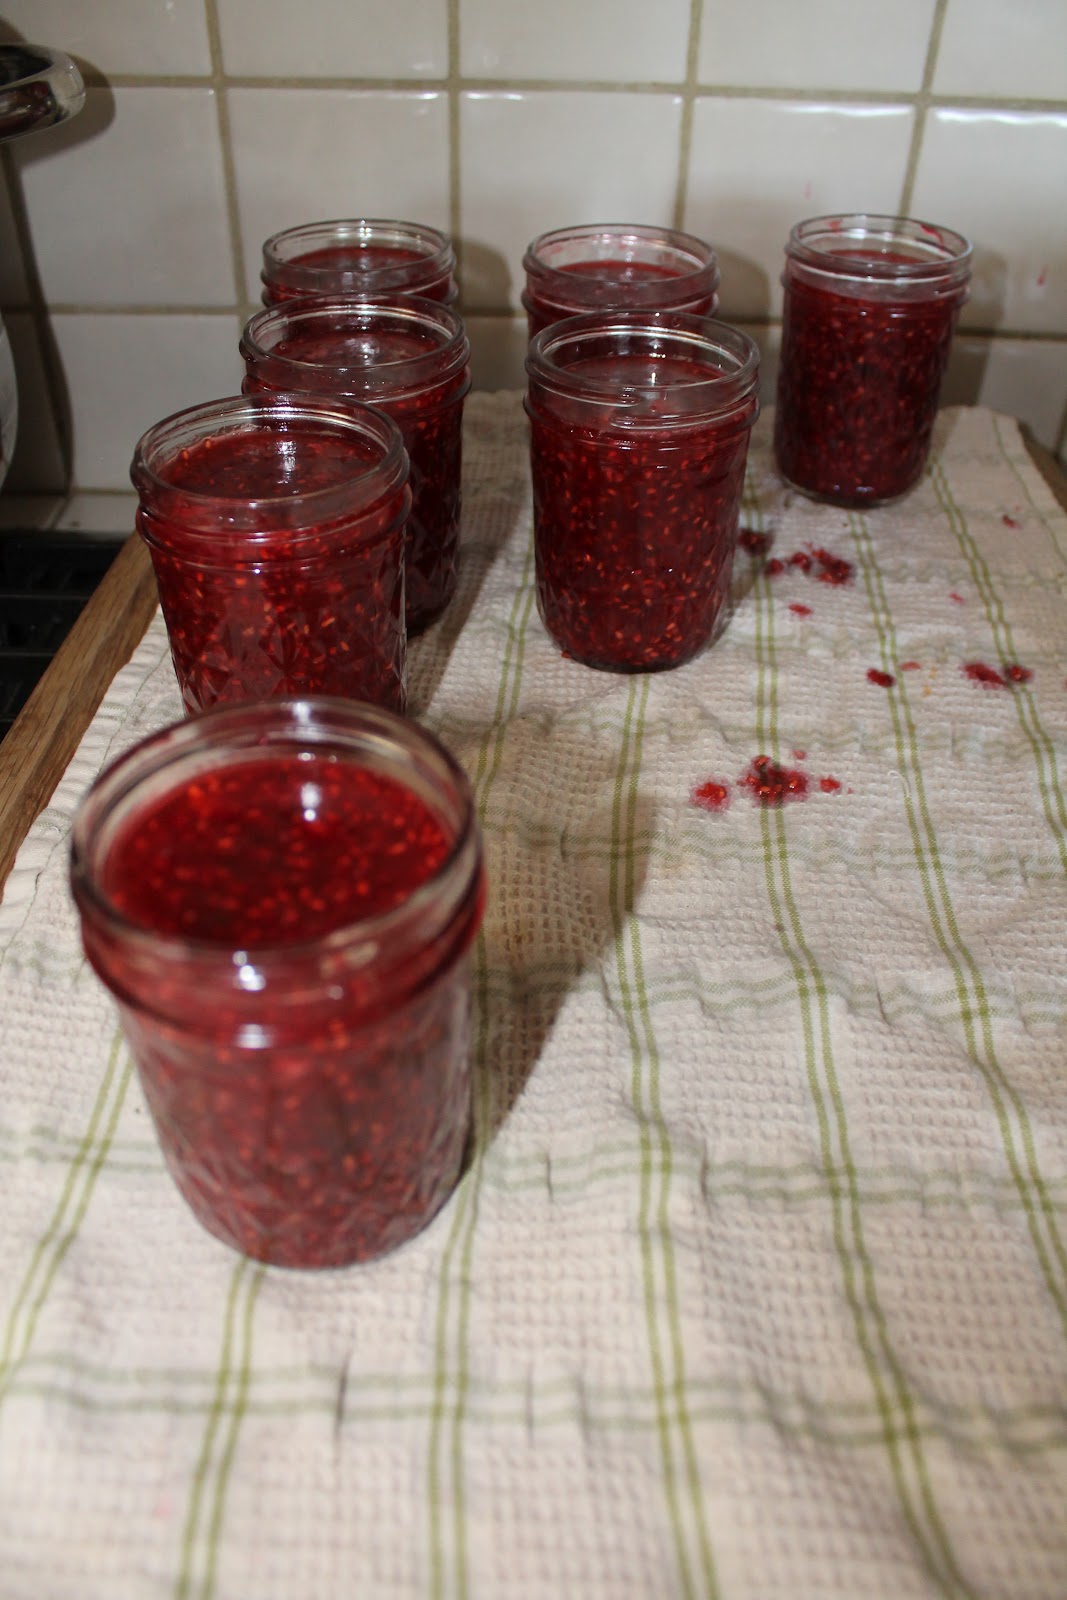
Carefully take the jars out of the hot water and place near the raspberry pot. I use a wide mouth funnel to fill the jars with the jelly mixture, leaving about 1/4" at the top. Once all the jars are filled, wipe the rim of the jars with a damp paper towel to remove any jelly that is there.
Place the seal on the jar and close with ring making sure not to close too tight. Place jars back in the hot water, making sure the jars are covered in water and bring to a boil for about 10 minutes. Carefully remove the jars from the water bath and let cool. The seals should pop to ensure they are sealed properly.
If you don't hear them pop, just press down on the top. If they give in the center, they are not sealed properly. You will need to reseal.
http://chowhound.chow.com/topics/531272 Once they are done and cool, just open a jar and enjoy!